



3 hours ago
I’m not a speedrunner, and I’m definitely not the kind of player who memorizes every map on day one. So when Hollow Knight: Silksong dropped me into Act Two and the Great Citadel, I was riding high on those bright, welcoming halls. Then the elevator decided to betray me. One mechanical malfunction later, I was plummeting into the Underworks, a dark, desolate slice of the Citadel’s lower levels that doesn’t exactly roll out a welcome mat. If you’re anything like me, your first thought is probably: where is the map? Here’s how I found the Underworks map, step by step, and what I wish I’d known before I started climbing.
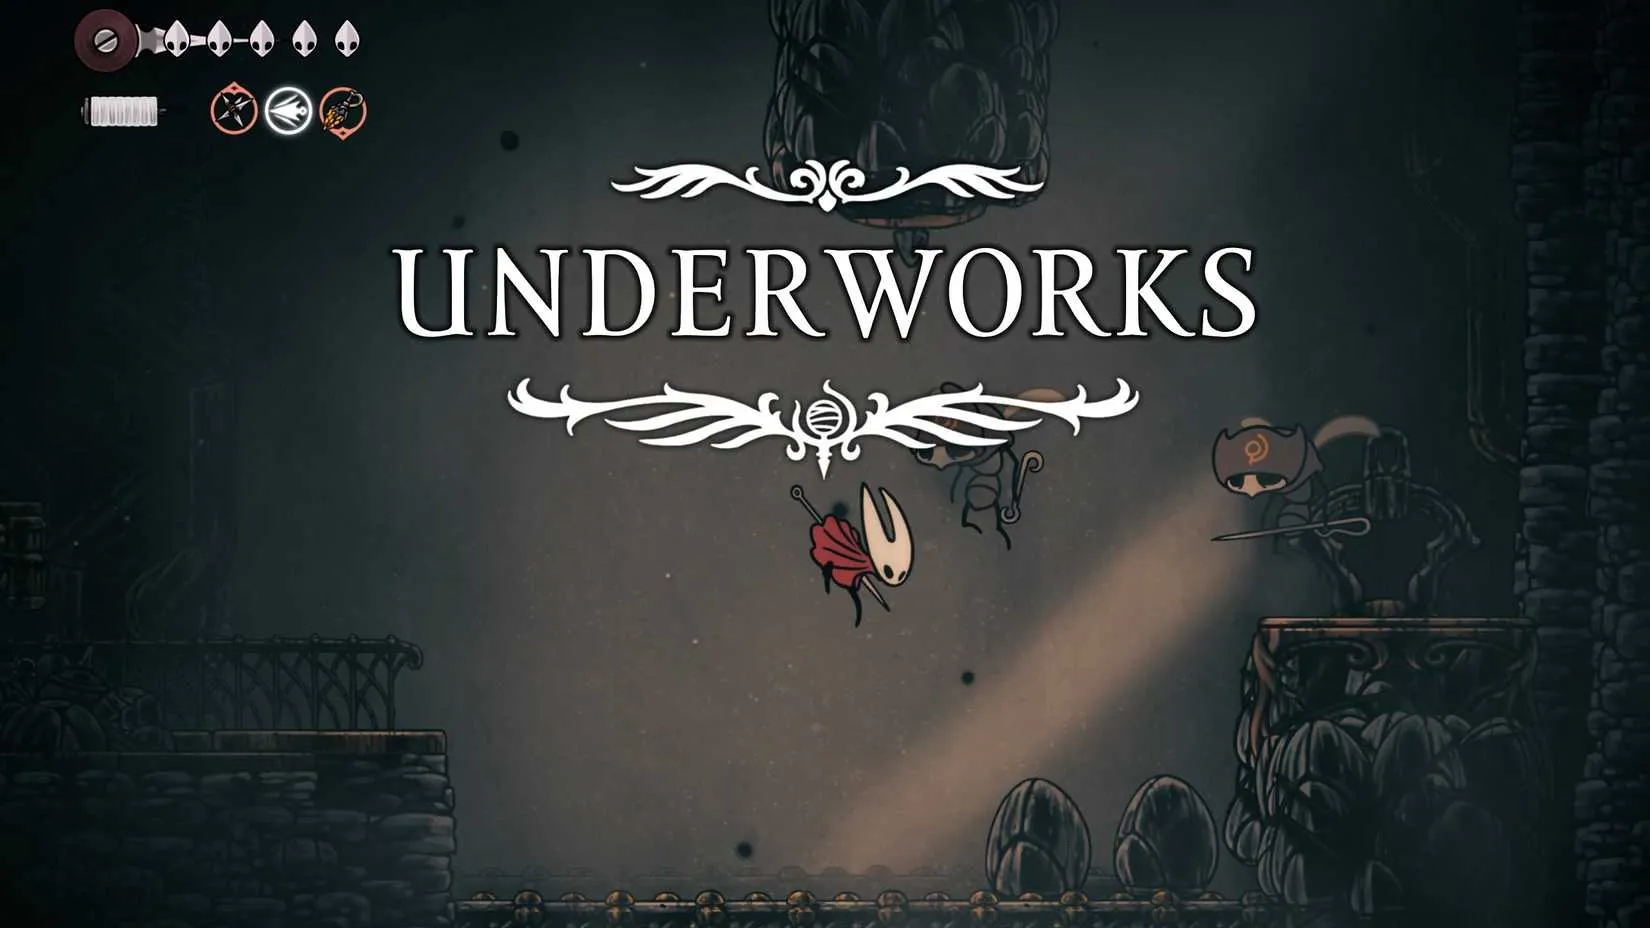
Step 1: Pay the Bench Tax First
Before you go wandering into the dark, deal with the machine near your landing spot. You need to put 15 Rosary Beads into it to release a bench. Do this first. Trust me, you do not want to start the climb with low health and no safe place to rest. The Underworks is gloomy, cramped in places, and full of little surprises that punish impatience. That bench is your anchor.
Once you’ve paid and rested up, exit the chamber to the right. That takes you into the main Underworks area. From here, the real work begins: climbing.
Step 2: Clear the Flyers, Then Climb
As you start scaling the walls, flying enemies will swoop in and try to knock you off. I learned this the hard way. The first time I tried to rush upward, I got bumped mid-cling and had to restart my climb. So take a moment to clear those flyers before you commit to the wall. It saves time, health, and frustration.
You’ll need the Cling Grip ability to climb the walls here. Keep heading upward, and pay attention to the mid-way section. On the left side, you’ll spot a golden lever. Interact with it, and it lowers a boulder on the right. That opens a pathway so Hornet can reach the top without getting blocked.
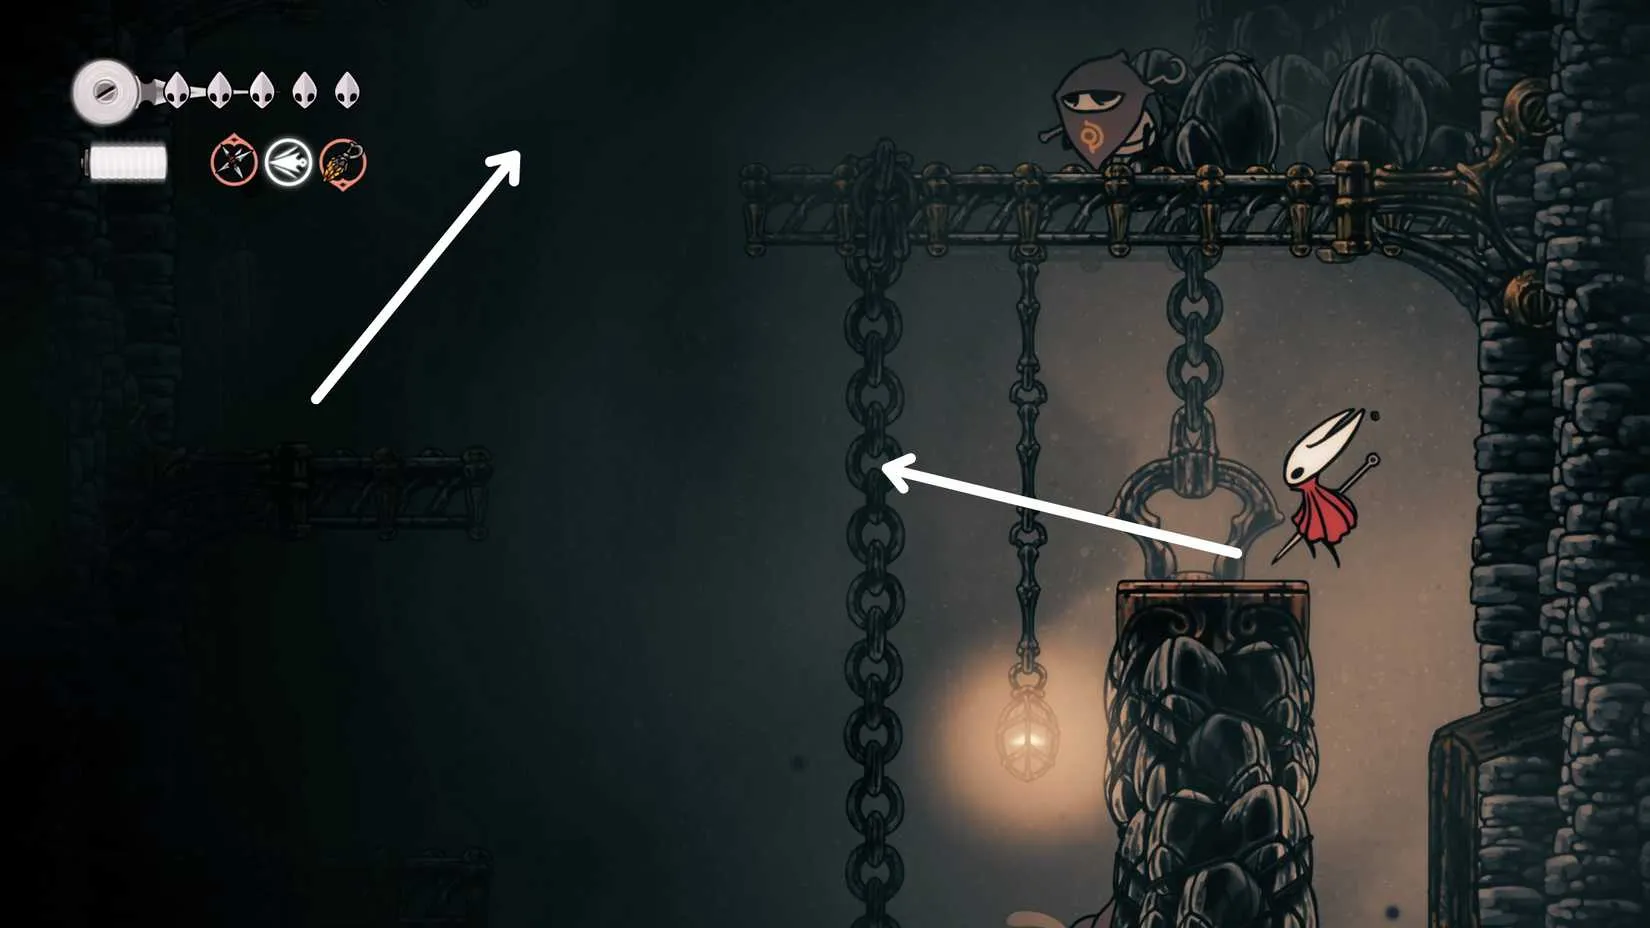
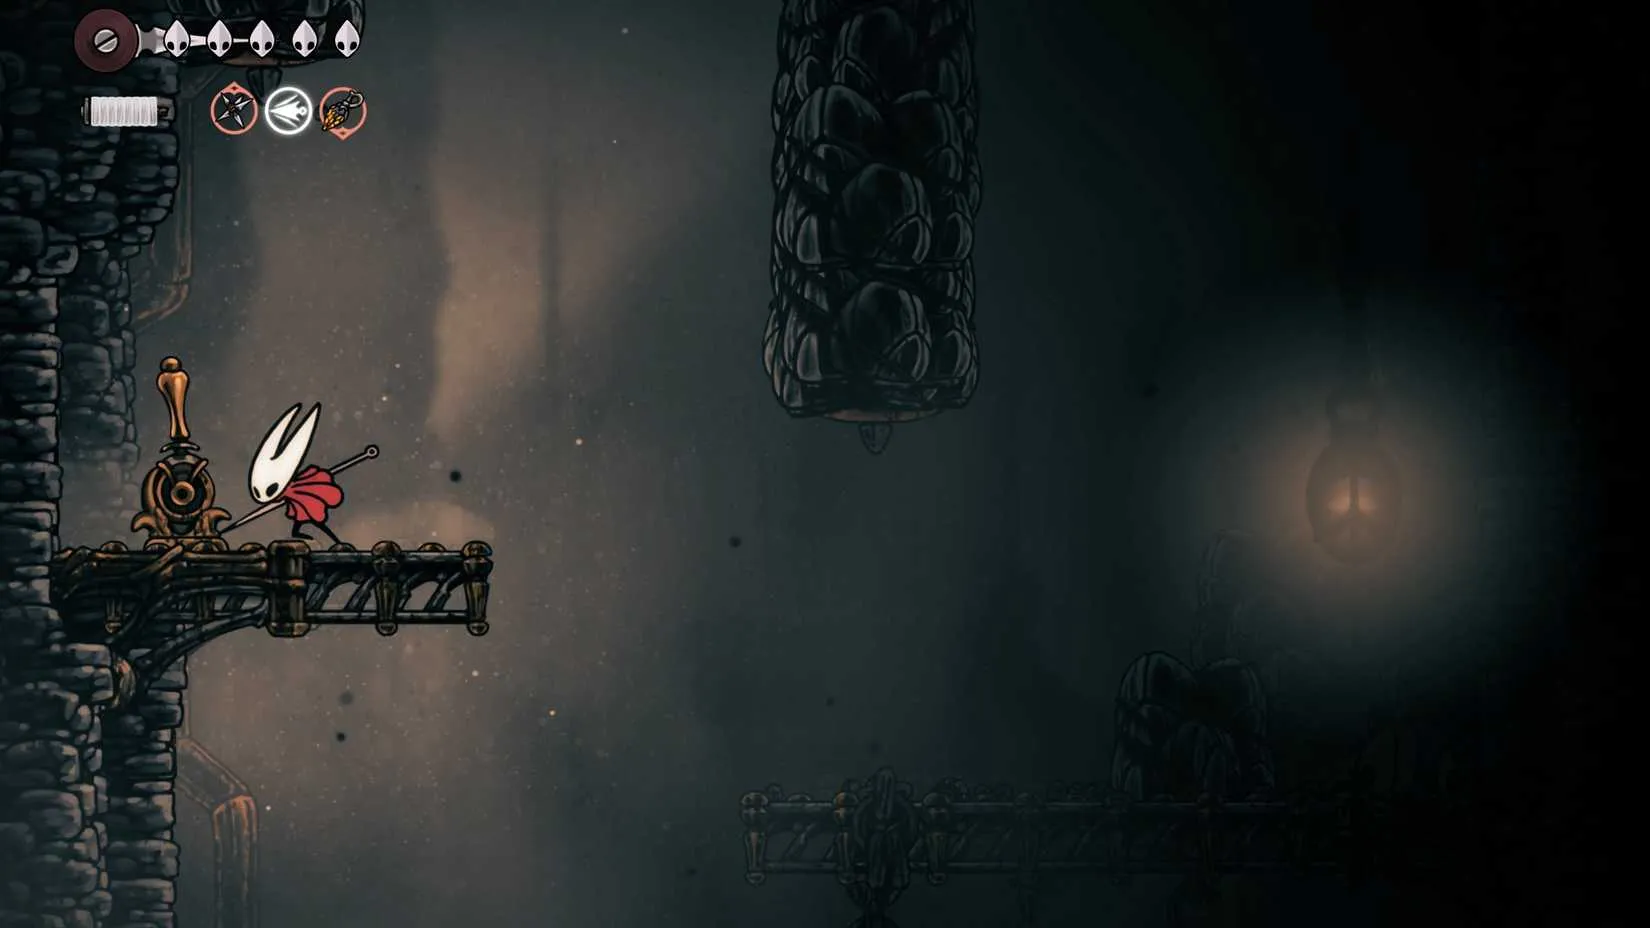
This part is straightforward once you know what to look for. Climb, clear, pull the lever, and keep moving up. No fancy tricks required. Just don’t ignore the lever like I almost did.
Step 3: At the Top, Take the Left Fork
When you finally reach the top, you’ll find two pathways: one on the left and one on the right. The right path takes you further into the Underworks. The left path has a signboard, and that’s the one you want first if you’re after the map.
Enter the area with the signboard on the left. Inside, you’ll find a dimly lit room with an interactable wooden board. Walk up to it and interact. Hornet will receive the map for the Underworks. That’s it. Map acquired. No vendor, no purchase, no haggling. Just a wooden board in a quiet room.
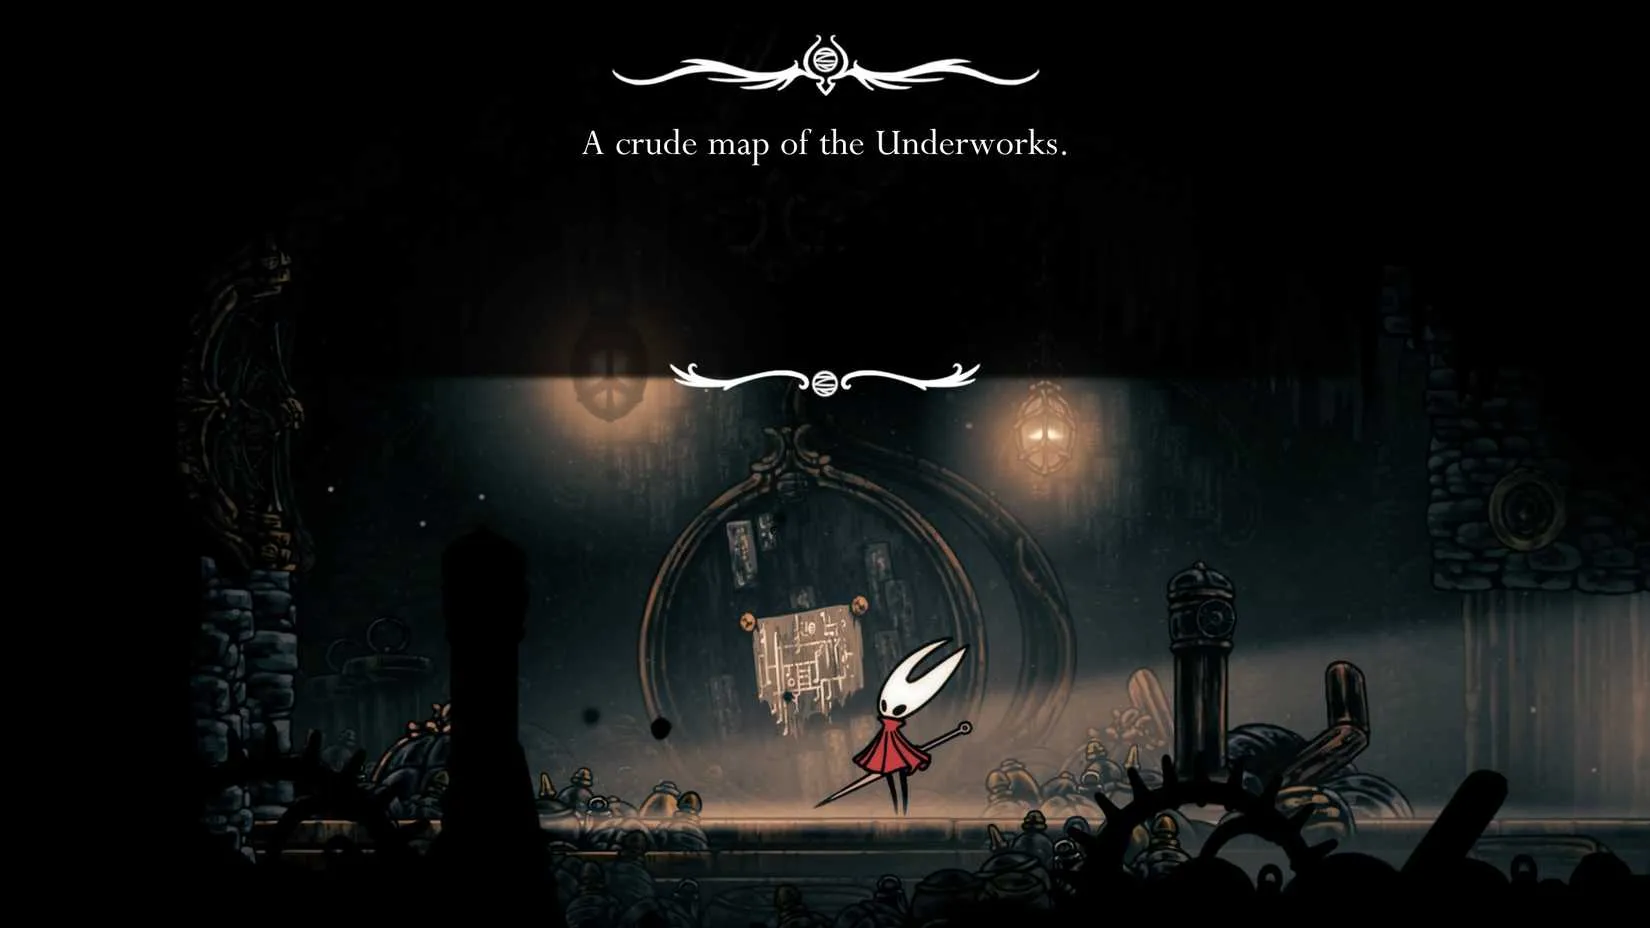
This is a different routine from the usual map-buying flow, where you track down a vendor and pay up. Here, the map is tucked away in the environment. If you skip the left fork and push right, you can absolutely come back later, but the dark rooms start to blur together. Grab the map early and save yourself the headache.
What the Underworks Map Actually Does for You
The Underworks isn’t just a straight corridor. It has branching pathways, hidden corners, and routes that can lead to regions you might otherwise miss. The map makes those connections readable. It helps you spot where you’ve been, where you haven’t, and which climbable wall leads to progress versus a dead end.
For me, the map turned a stressful detour into a manageable exploration zone. I could plan my route, mark my mental checkpoints, and stop second-guessing every dark doorway. If you’re playing in 2026 or later and you’re new to Silksong’s Act Two, this little wooden board is your new best friend.
Quick Checklist
Why It Matters
✅ Have 15 Rosary Beads
Releases the bench so you can rest and heal
✅ Clear flying enemies first
Prevents mid-climb knockoffs
✅ Use Cling Grip
Required for scaling the walls
✅ Pull the golden lever
Drops the boulder and opens the path
✅ Take the left fork at the top
Leads to the signboard room
✅ Interact with the wooden board
Grants the Underworks map
My Honest Take
Okay, lesson learned the hard way: the Underworks doesn’t hand you much. It’s dark, it’s hostile, and the elevator ride in is less than graceful. But the map route is short once you know it. Pay the bench, clear the sky, pull the lever, and take the left fork. Your future self will thank you.
And if you miss the map on your first pass? No big deal. The Underworks will still be there, waiting in the dark. Just don’t wait too long. Those branching paths are a lot friendlier when you can actually see them.
Once the Underworks map is in hand and the route starts making sense, it’s easy to start thinking about what to play next—especially if you’re drawn to atmospheric metroidvanias and exploration-heavy games. That’s where a site like DealNest can be useful: it gathers best game deals in one place, so you can browse discounts without digging through storefront after storefront.
Whether you’re stocking up on indie adventures for later or keeping an eye out for something new after Silksong, DealNest is worth a look if you’d rather spend less time price-hunting and more time playing.
Step 1: Pay the Bench Tax First
Before you go wandering into the dark, deal with the machine near your landing spot. You need to put 15 Rosary Beads into it to release a bench. Do this first. Trust me, you do not want to start the climb with low health and no safe place to rest. The Underworks is gloomy, cramped in places, and full of little surprises that punish impatience. That bench is your anchor.
Once you’ve paid and rested up, exit the chamber to the right. That takes you into the main Underworks area. From here, the real work begins: climbing.
Step 2: Clear the Flyers, Then Climb
As you start scaling the walls, flying enemies will swoop in and try to knock you off. I learned this the hard way. The first time I tried to rush upward, I got bumped mid-cling and had to restart my climb. So take a moment to clear those flyers before you commit to the wall. It saves time, health, and frustration.
You’ll need the Cling Grip ability to climb the walls here. Keep heading upward, and pay attention to the mid-way section. On the left side, you’ll spot a golden lever. Interact with it, and it lowers a boulder on the right. That opens a pathway so Hornet can reach the top without getting blocked.
This part is straightforward once you know what to look for. Climb, clear, pull the lever, and keep moving up. No fancy tricks required. Just don’t ignore the lever like I almost did.
Step 3: At the Top, Take the Left Fork
When you finally reach the top, you’ll find two pathways: one on the left and one on the right. The right path takes you further into the Underworks. The left path has a signboard, and that’s the one you want first if you’re after the map.
Enter the area with the signboard on the left. Inside, you’ll find a dimly lit room with an interactable wooden board. Walk up to it and interact. Hornet will receive the map for the Underworks. That’s it. Map acquired. No vendor, no purchase, no haggling. Just a wooden board in a quiet room.
This is a different routine from the usual map-buying flow, where you track down a vendor and pay up. Here, the map is tucked away in the environment. If you skip the left fork and push right, you can absolutely come back later, but the dark rooms start to blur together. Grab the map early and save yourself the headache.
What the Underworks Map Actually Does for You
The Underworks isn’t just a straight corridor. It has branching pathways, hidden corners, and routes that can lead to regions you might otherwise miss. The map makes those connections readable. It helps you spot where you’ve been, where you haven’t, and which climbable wall leads to progress versus a dead end.
For me, the map turned a stressful detour into a manageable exploration zone. I could plan my route, mark my mental checkpoints, and stop second-guessing every dark doorway. If you’re playing in 2026 or later and you’re new to Silksong’s Act Two, this little wooden board is your new best friend.
Quick Checklist
Why It Matters
✅ Have 15 Rosary Beads
Releases the bench so you can rest and heal
✅ Clear flying enemies first
Prevents mid-climb knockoffs
✅ Use Cling Grip
Required for scaling the walls
✅ Pull the golden lever
Drops the boulder and opens the path
✅ Take the left fork at the top
Leads to the signboard room
✅ Interact with the wooden board
Grants the Underworks map
My Honest Take
Okay, lesson learned the hard way: the Underworks doesn’t hand you much. It’s dark, it’s hostile, and the elevator ride in is less than graceful. But the map route is short once you know it. Pay the bench, clear the sky, pull the lever, and take the left fork. Your future self will thank you.
And if you miss the map on your first pass? No big deal. The Underworks will still be there, waiting in the dark. Just don’t wait too long. Those branching paths are a lot friendlier when you can actually see them.
Once the Underworks map is in hand and the route starts making sense, it’s easy to start thinking about what to play next—especially if you’re drawn to atmospheric metroidvanias and exploration-heavy games. That’s where a site like DealNest can be useful: it gathers best game deals in one place, so you can browse discounts without digging through storefront after storefront.
Whether you’re stocking up on indie adventures for later or keeping an eye out for something new after Silksong, DealNest is worth a look if you’d rather spend less time price-hunting and more time playing.